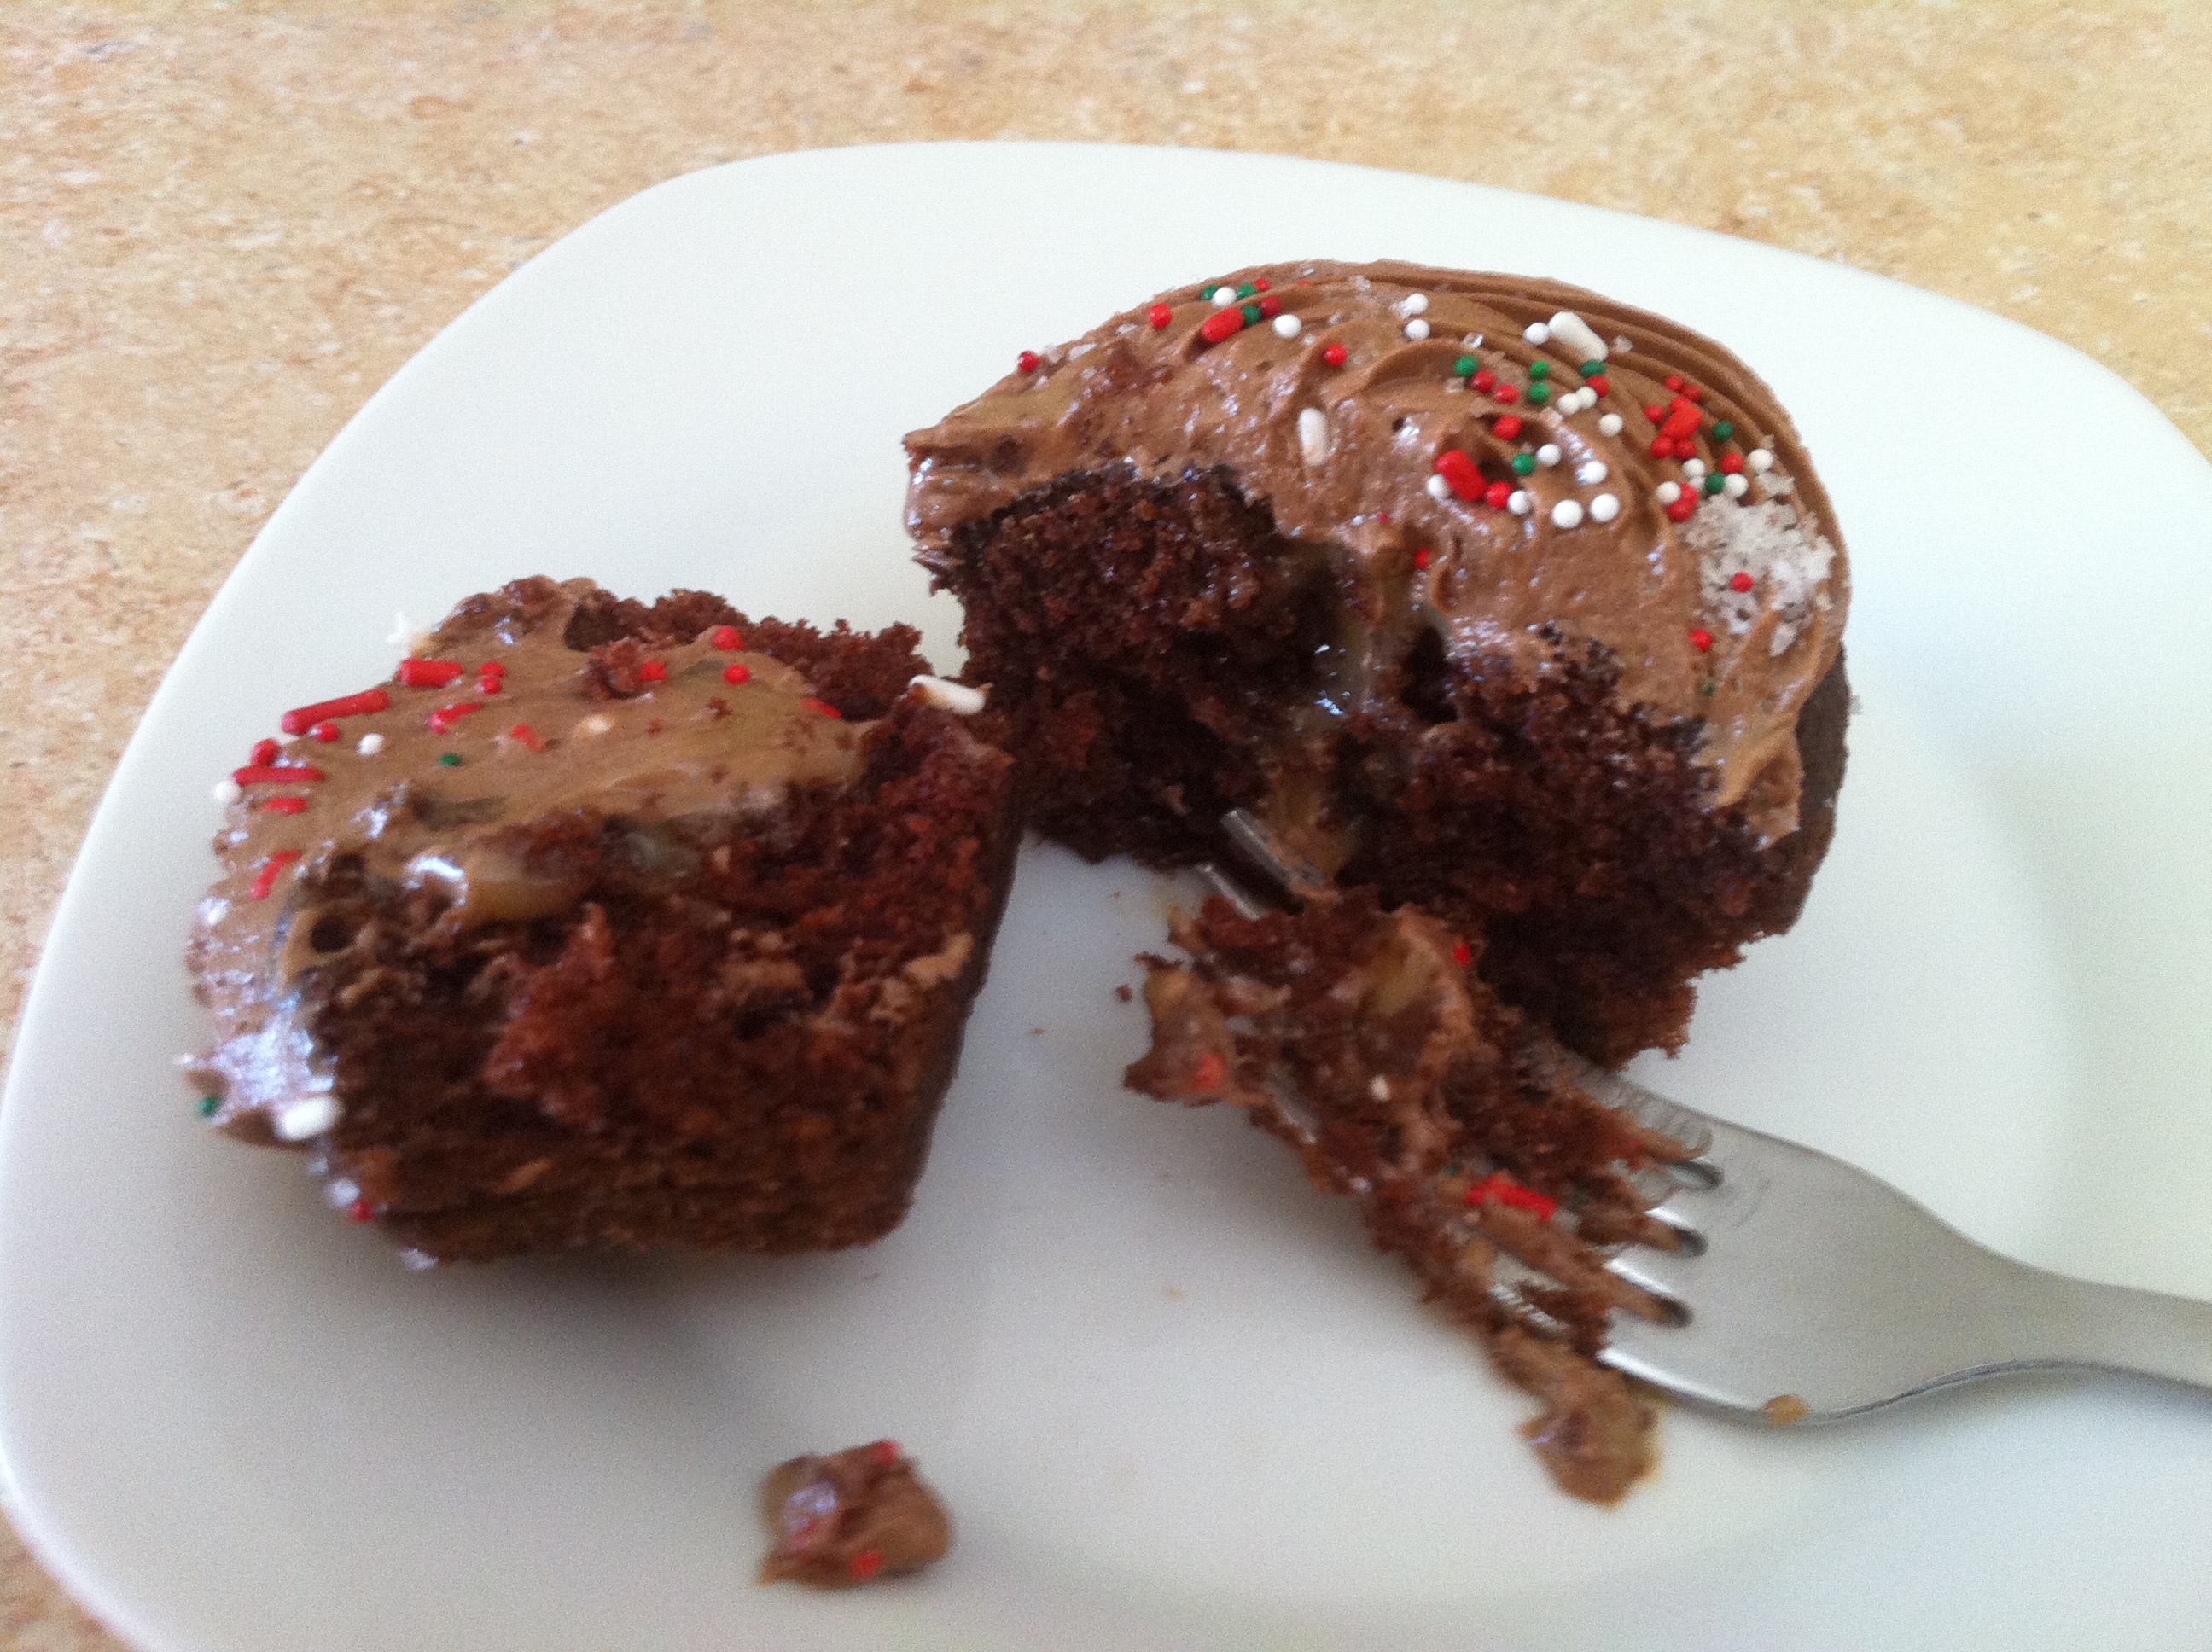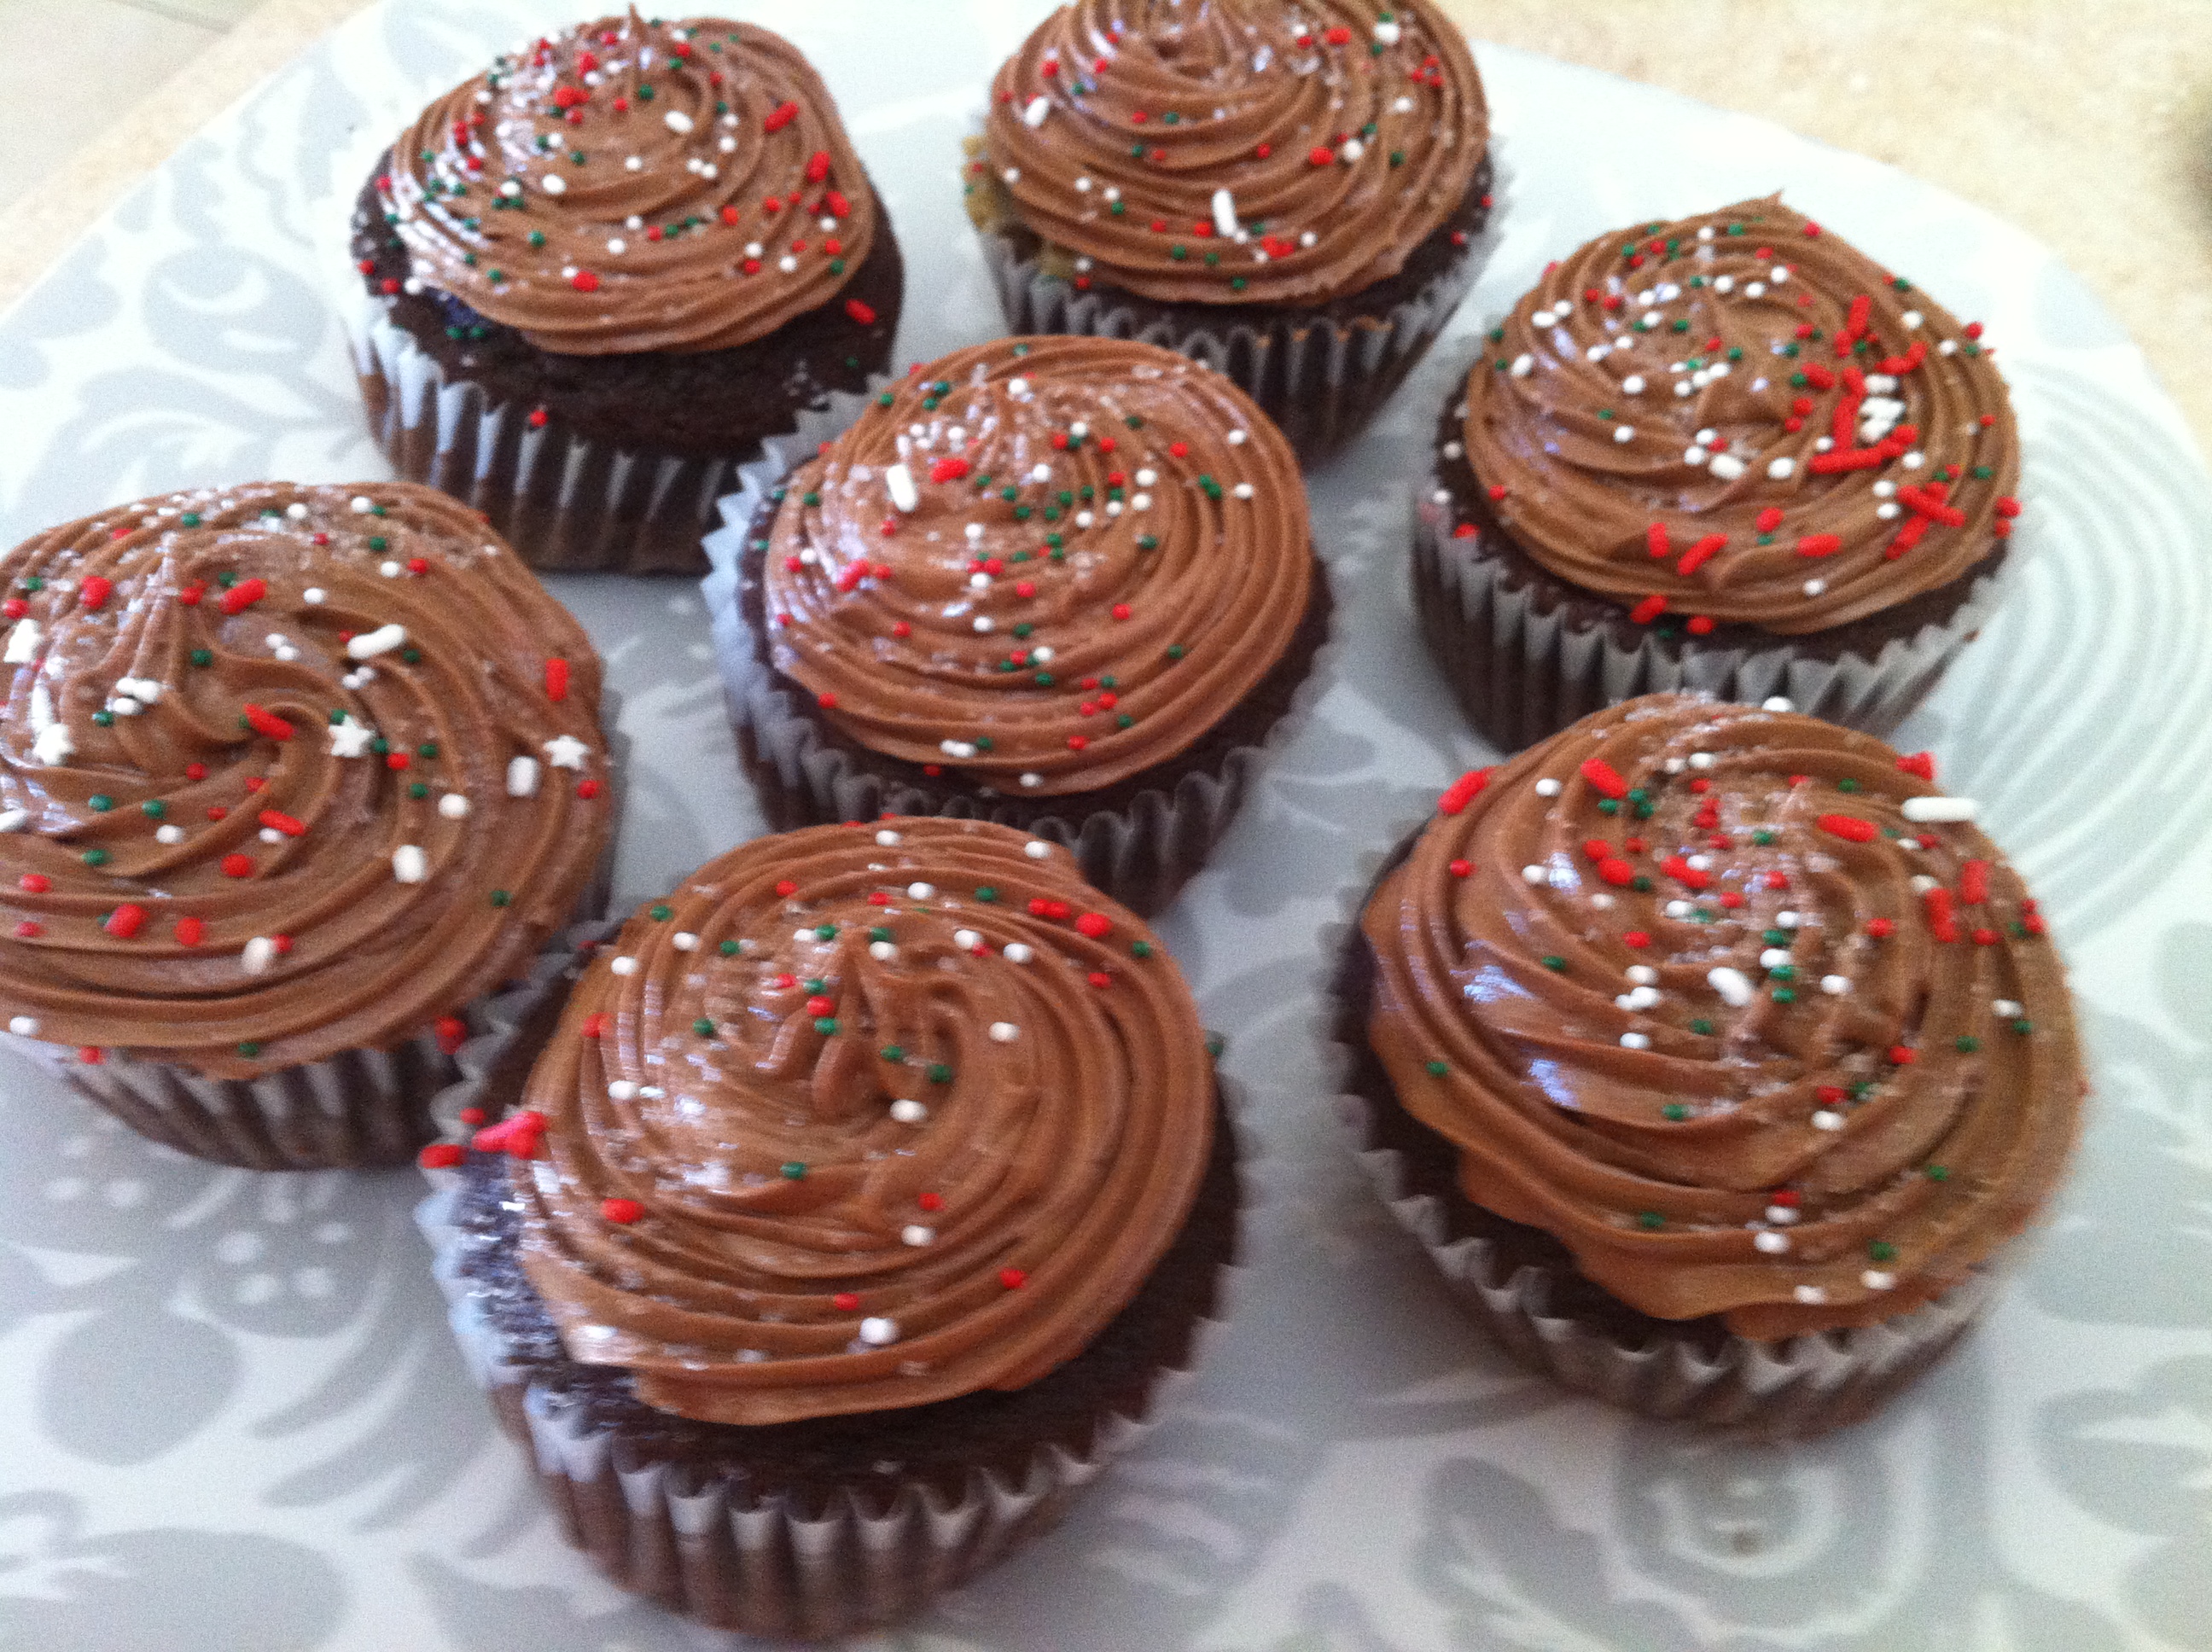
I’m writing this on the day of Christmas eve, listening to Hanson’s Snowed in, because it doesn’t quite feel like Christmas without it, after I just frosted 2 dozen cupcakes. They aren’t just any cupcakes, they are caramel filled chocolate cupcakes with milk chocolate frosting, festive sprinkles and a hint of sea salt. It’s a mouthful to say, but every last entirely homemade crumb is a delicacy. And since this is the Christmas season where the theme is about giving to others, I am going to share my recipe with you. I have been told that these are the best cupcakes ever, but I suppose you will just have to try them and see! To give you an idea of what you’ll be making, think of an incredibly moist cake, with caramel sauce with an ooey gooey center, topped with creamy chocolate icing and a hint of salt to enhance the sweetness.
Ingredients
Cupcakes
- 2 c cake flour (can substitute for all-purpose)
- 1 c cocoa powder
- 1 1/2 c sugar
- 1 1/2 tsp baking powder
- 1 1/2 tsp baking soda
- 1 tsp salt
- 3 eggs
- 1/2 cup (1 stick) butter (melted)
- 2/3 c melted chocolate
- 2 tsp vanilla
- 1 c sour cream
- 1 c milk
Caramel Filling
- 2 1/2 cups brown sugar
- 1/2 cup (1 stick) melted butter
- 1 tsp vanilla
- 1 can sweet & condensed milk
- 3/4 cup milk
Frosting
- 1 c (2 sticks) butter
- 4 c powdered sugar
- 1 tsp vanilla
- 1/2 c whipping cream (more if needed)
- 1/2 tsp salt
- 1 c cocoa powder
- 2/3 c melted chocolate
Assembly
- Sea salt grinder
- Sprinkles!
Directions
Cupcakes
- Preheat oven to 350 & line muffin tins with cupcake liners.
- Beat eggs with an electric mixer until they are pale yellow and frothy, and then add in sugar and vanilla.
- Blend milk, sour cream, melted butter and chocolate.
- Sift together cake flour, cocoa powder, salt, baking soda and baking powder, then slowly blend into wet mixture. If you’re lazy like me and don’t want to dirty too many bowls, add the cocoa powder first, then start adding in the flour one up at a time. Finish up with the salt, baking powder and baking soda. They key with a hand mixer is to incorporate slowly otherwise you’ll have a cloud of flour dust.
- Once your mixture is light and thoroughly mixed, use an ice cream scoop to fill up your cupcake liners 2/3.
- In my oven, 15 minutes is perfect, but every oven is different. On the first batch, put them in for 8 minutes, and keep popping them for an additional 2 minutes before checking them again. If the toothpick comes out clean, then they are done. Remember how long it took for them to bake, and that’s your magic cupcake number!
Caramel Filling
- In a medium sauce pan, mix sweet and condensed milk and brown sugar. Stir until the sugar has dissolved completely.
- Add melted butter and additional milk. Continue stirring until mixture is smooth and creamy. Allow 3-5 minutes to thicken.
- Pour into a bowl & cover. For 24 cupcakes, this amount of caramel sauce will be far more than necessary. I recommend freezing leftovers into multiple containers so you can re-use on multiple occasions. It also makes a wonderful ice cream topper, and can be used in other desserts. Make sure any un-used portion of the sauce is at least refrigerated.
Frosting
- Cream butter until light and fluffy.
- Add cocoa powder, melted chocolate, salt and vanilla.
- Slowly add powdered sugar 1 cup at a time until fully blended. The mixture will get very thick.
- Add 1/2 cup whipping cream, or more as needed. I often just eyeball this stage without measuring. Frosting should be light and fluffy when finished.
Note: since this frosting is made with butter instead of shortening, it will harden in the fridge. If you are not assembling your cupcakes right away, refrigerate the frosting. When you are ready soften for 30 – 90 seconds using a low or medium power in the microwave, but be careful because you do not want to MELT the frosting. Or, you can take it out well in advance to icing your cupcakes and allow it to come to room temperature.
Assembly
This is by no means the only way to assemble the cupcakes, it’s just how I do it. You will need icing bags, couplers, and tips. I use a round tip for filling, although after some research online, the recommended tip for the job is made specifically for this purpose: WILTON ROUND TIP #230 402-230, and a star tip for my frosting.
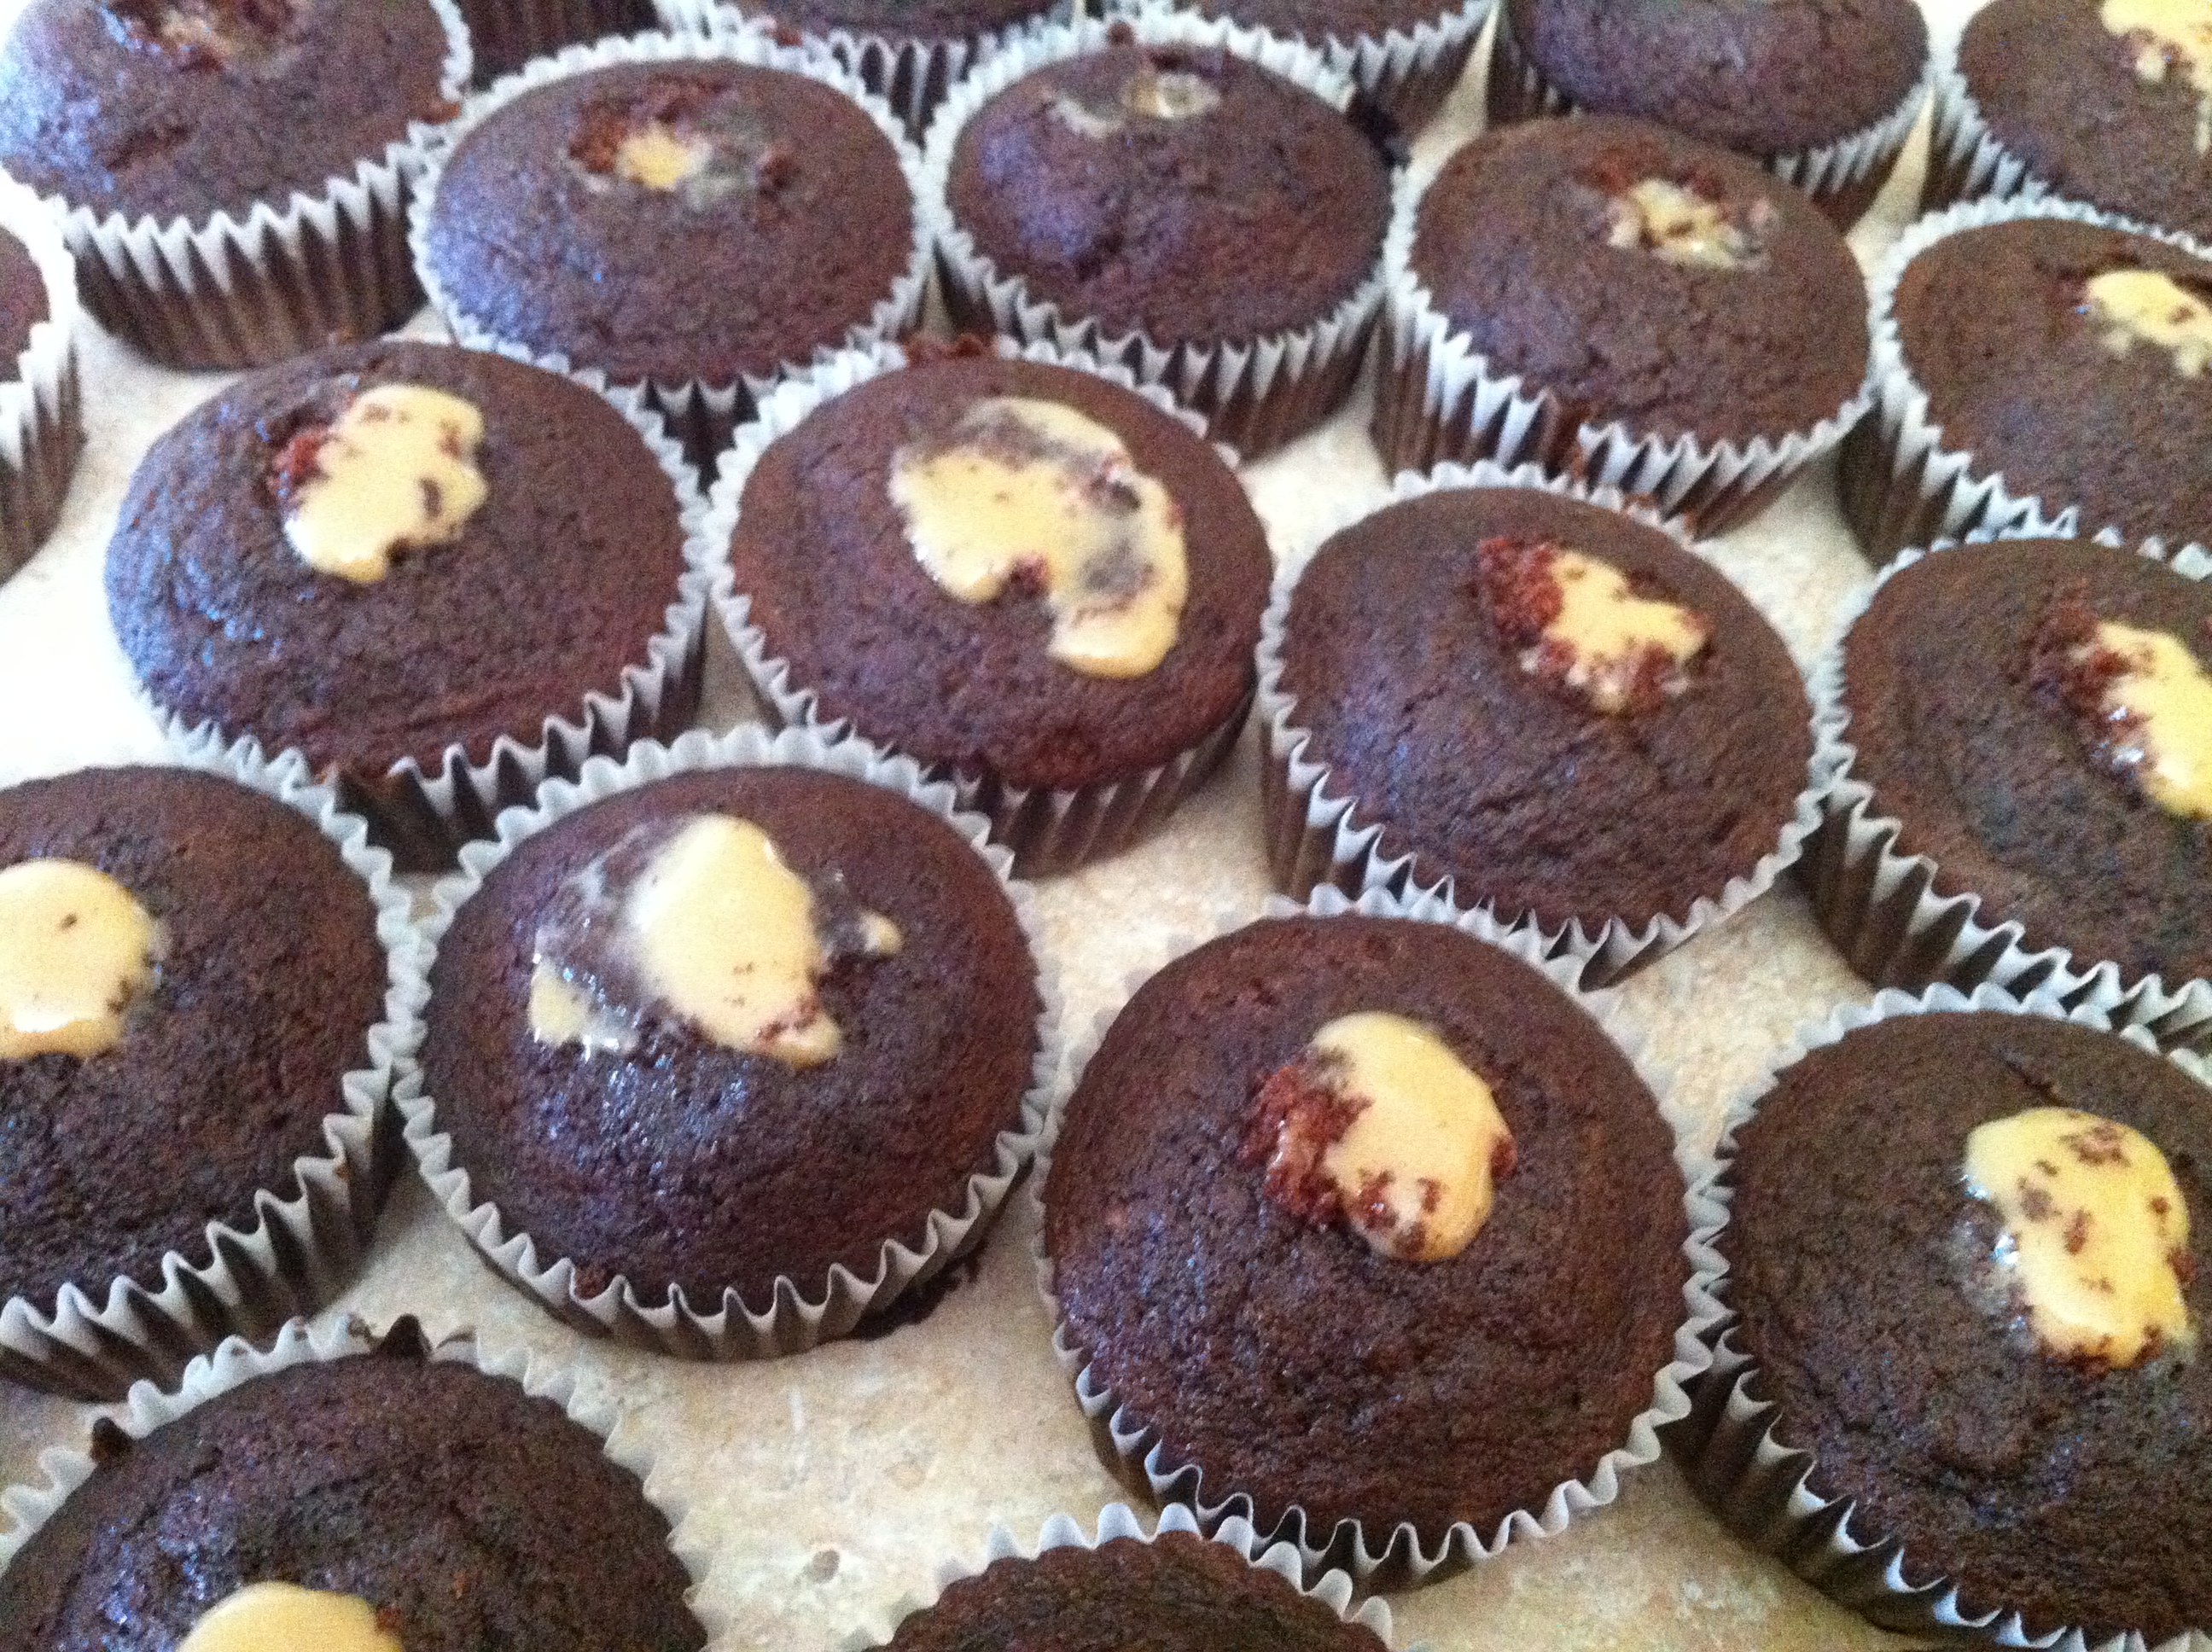
- With a sharp knife, poke the center of the cupcake and twist the blade around to give a small round hole for the filling.
- Set up an icing bag with your round tip and fill it 2/3 with caramel filling. Be careful, as the filling WILL run out of the other end.
- Twist the end of the bag, and quickly insert the tip into the hole you made in the center of each cupcake. Push it far into the cupcake and gentle squeeze the caramel into the cupcake while lifting up. Stop squeezing, turn so the tip is facing up, and then go to the next. You may need to refill several times.
- Do the same thing with your frosting with the star tip, and starting from the outer rip of the cupcake, swirl to the center, building up each time around until you have a higher center, and break. It may take some practice, but you’ll get nice fat swirls and a nice little ending point.
- Open your sea salt grinder, and give it a shake in your sink to make sure there isn’t any build up of salt. Grind it once or twice. Now, grind once on each cupcake. It should only be a small dusting, do NOT go overboard with the salt.
- Generously sprinkle with… sprinkles! I recommend choosing bright colors that will contrast well with the dark chocolate.